

When installing security cameras at home, residents will want to consider the purpose of the camera and the area it will cover. This will help them decide whether a wired or wireless option is best for their needs. They should also decide whether to choose cloud or local storage for their recordings. Finally, they should determine how many cameras they need to cover the area of interest.
Wired cameras will require residents to install data cables, which will need to run from the camera to a digital video recorder (DVR). This can be as simple as running cable through a piece of baseboard or as complex as fishing cable across crawl spaces and roofs. In either case, a little planning will help ensure the process goes smoothly and that the wires are secure.
For homeowners who are not comfortable drilling holes or running wires, hiring a professional to install security cameras is an option worth considering. Third-party services like HelloTech can match homeowners with a local technician who is trained and licensed to install security devices. In addition, they can provide the resident with quotes based on their specific needs and requirements.
Before getting started, residents should gather any necessary tools and supplies. A drill (preferably cordless, as they will likely be working on a ladder), Phillips-head and flathead screwdrivers, needle-nose pliers, a hammer drill, and masonry drill bits are all essential items for the job. Additionally, if they plan to mount their cameras outdoors, a sturdy ladder should also be on hand.
Once all the necessary supplies are in place, residents can begin the actual installation of their security cameras. First, they will need to find a suitable location for the camera mount. This will likely be a wall or cabinet, and most kits will include a mounting template for this purpose. Using the template as a guide, they will need to mark the locations for any screws included with the kit. Residents will then need to drill the pilot holes into the wall, and use the included screws to attach the camera mount.
Next, residents will need to connect the camera to its power supply. If the camera is wireless, this will be as simple as connecting it to a power outlet. If the camera is wired, however, they will need to connect it to a router, a power over Ethernet switch (Poe), and a power adapter. This will ensure the camera is able to communicate with the router over a Wi-Fi connection, and that it has a steady source of power.
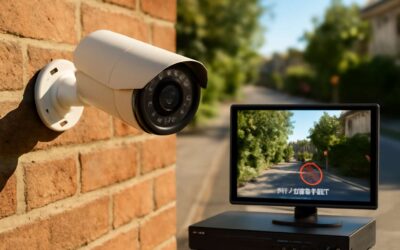
It’s important for residents to note that many cameras only work on certain Wi-Fi frequencies, and if they are using an older model router, this may create connectivity issues. If this is the case, they will need to add a Wi-Fi extender or a hub that’s designed to work with their brand of camera in order to achieve optimal functionality. Once all the equipment is connected, residents can test the camera by launching it through their smartphone app.

0 Comments